A loose stair rail deserves attention before a new shower does. So does a dark path to the bathroom. A room-by-room aging-in-place safety checklist helps you find those hazards, fix the simple ones, and decide which changes need skilled help before committing to a major renovation.
This is a straightforward inspection, not a construction project. Set aside time to arrange repairs. If possible, do it with the person who lives in the home: a clear route on paper may still feel awkward when they carry groceries, use a walker, or get up at night. The National Institute on Aging recommends checking the home room by room and revisiting the checklist as needs change.
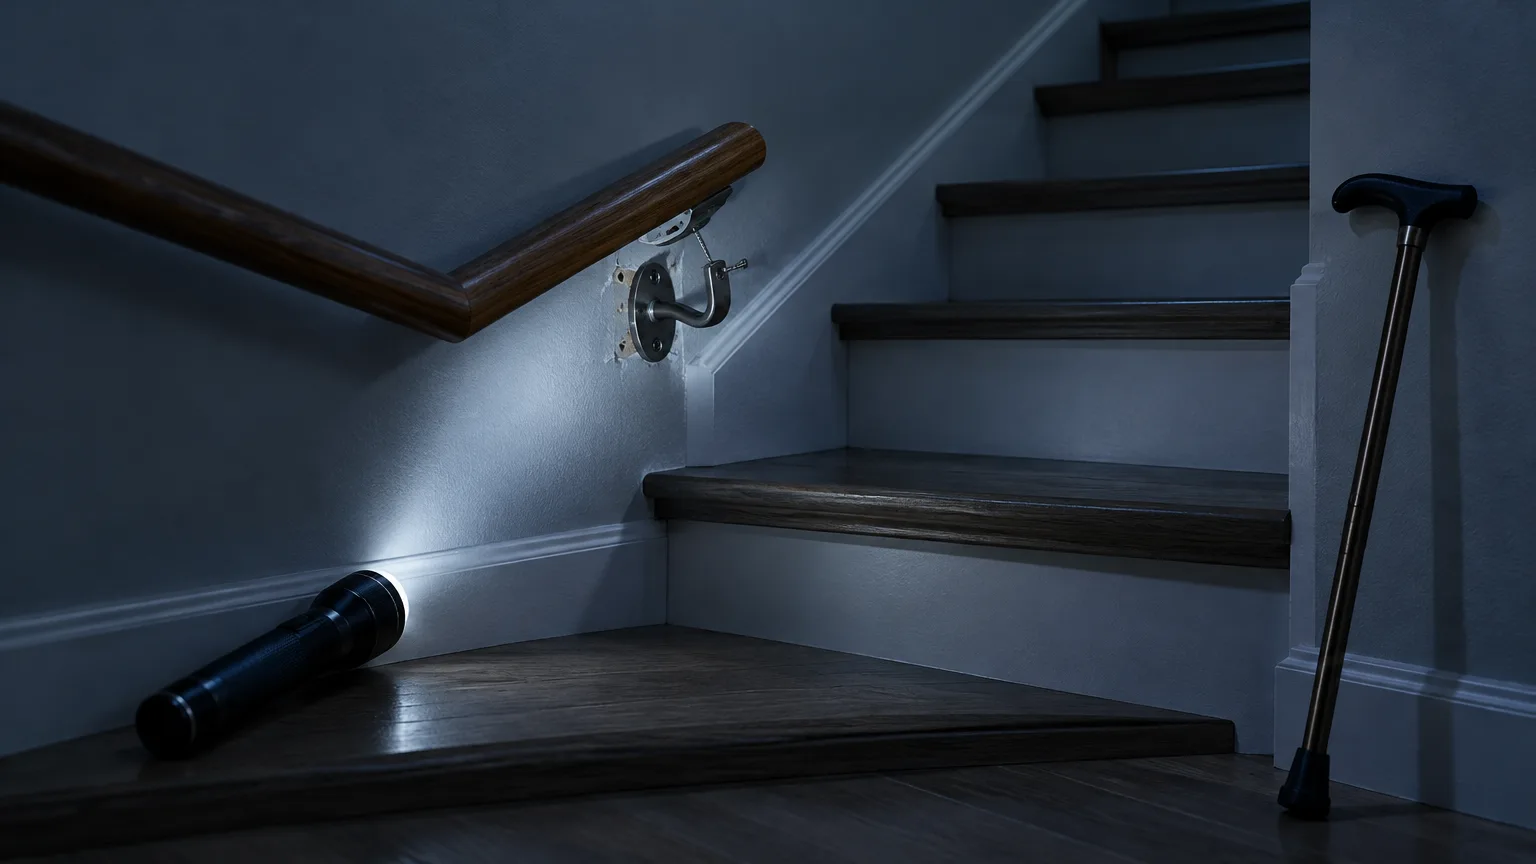
You’ll need:
- A phone or paper for notes and photos
- A flashlight to check dim areas and burned-out bulbs
- A pen and a copy of the checklist you create below
- The shoes, cane, walker, or other aid normally used at home
- Another person, if the resident wants help or would be unsafe walking the route alone
Don’t climb a ladder, test a questionable stair, or ask someone to demonstrate a transfer that already feels unsafe. Record the problem and arrange help instead.
Build the checklist in the order daily life happens
1. Trace the routes the resident uses
Start at the usual entrance and follow the routes to the kitchen, bathroom, bedroom, and favorite chair. Include the trip from bed to bathroom in the dark and the route to the door when carrying a bag. Rather than judging each room in isolation, note where someone has to turn sideways, step over something, reach for furniture, or let go of a mobility aid.
Make one line in your checklist for each concern, with five fields: location, hazard, proposed fix, who will handle it, and status. A useful entry might read: “Hall to bathroom | cord crosses walkway | move lamp and cord to wall | family member | not done.” Photograph a hazard if it will help explain the work to a contractor or clinician.
Pay attention to what the resident actually does. A spare bedroom needn’t receive the same attention as a bathroom used several times a day. Ask which movements feel difficult or cause a loss of balance; those answers should shape the inspection.
2. Inspect the entrance and outdoor approach
Walk from the parking spot or sidewalk to the door, then back out again. Check for uneven pavement, loose steps, wet leaves, hoses, poor drainage, and surfaces that become slick in bad weather. Look at the route at the time the resident normally returns home. A porch light that works at noon may not adequately light the steps after sunset.
Add these questions to the entrance section:
- Are the path and steps even, clear, and well lit?
- Is there a secure handhold where the resident needs one?
- Can they unlock the door without balancing bags or leaning against it?
- Is the threshold easy to cross with their usual footwear or mobility aid?
- Is there a convenient place to set down packages?
A small table or bench may solve the package problem; clearing debris and replacing a bulb may solve others. The National Institute on Aging’s outdoor fall-prevention guidance also calls out damaged entry steps, slippery outdoor stairs, and poor porch lighting. If entering requires lifting a walker over steps or relying on another person for support, put an entry redesign or properly planned ramp on the professional-assessment list rather than buying a ramp without checking whether it fits the site.
3. Check every stair and landing
Inspect indoor and outdoor stairs from a safe position. Look for objects left on steps, torn carpet, loose treads, uneven risers, and handrails that move when held. Check whether the resident can reach a light switch before starting up or down. Don’t test a suspect rail by putting your full weight on it.
Write down:
- Are both sides equipped with secure, usable handrails?
- Are the steps and landings clear?
- Is any carpet firmly attached, without curled edges?
- Can the entire flight be seen clearly, with working lights and accessible switches?
- Does carrying laundry or groceries block the view of the steps?
The CDC’s home fall-prevention checklist recommends clearing stairs, repairing loose steps and rails, securing stair carpet, and providing lighting and switches at both ends. Clear clutter promptly. Have a qualified repair professional address loose steps or rails; use an electrician for new wiring or switches. Until a serious defect is repaired, avoid asking the resident to use that staircase. A stair lift is not a fix for a broken staircase, and it shouldn’t be the first purchase when lighting or a loose rail is the immediate problem.
4. Inspect the kitchen during an ordinary task
Watch how the resident gets a drink, prepares a simple meal, and puts away the items they use most. The main question is whether routine tasks require climbing, stretching, or stepping around obstacles.
Check for:
- Pots, dishes, and food stored above comfortable reach
- Spills or flooring that becomes slick when wet
- A trash can, pet bowl, or cord in the walking route
- Poor light at the counter, sink, or stove
- A chair being used to reach a high shelf
Move frequently used items to easy-to-reach shelves and clean spills as they happen. If an item can’t be reached safely, ask for help rather than standing on a chair. If a step stool is appropriate for the resident, the CDC advises using a sturdy one with a handhold; someone who feels unsteady should not climb to complete a kitchen task.
Don’t add equipment simply because it appears on a generic checklist. First solve the task that is causing difficulty: a lower shelf may be more useful than replacing every cabinet.
5. Inspect bathroom entry and transfers
Look at the bathroom floor dry and after normal use. Check where water lands when someone gets out of the shower and whether a mat slides or catches a foot. Then consider the movements required to sit on the toilet, stand up, enter the tub or shower, and reach towels and controls. Ask about difficulty; don’t ask someone to repeat a risky transfer for the inspection.
Record whether:
- The route to and through the doorway is clear
- The floor and bathing surface provide secure footing
- There are sturdy supports where the resident needs them
- The toilet is easy to sit on and stand from
- Bathing can be done without prolonged standing, if that is difficult
- A light is easy to turn on for nighttime visits
Start with water on the floor, a sliding mat, and poor lighting. Nonslip strips or a suitable mat may improve footing in the tub or shower. A shower chair may help someone who tires while standing. MedlinePlus advises against using towel racks as grab bars: they aren’t a substitute for a properly secured support.
Place a proposed grab bar where the resident would actually reach for it, but leave installation to someone who can assess the wall and fasten it securely. If bathing or toilet transfers remain difficult, ask a clinician about an occupational therapy assessment before choosing a raised toilet seat, bench, or larger bathroom project. The aim is to match the change to the person and the movement—not to fill the room with equipment.
6. Check the bedroom and other living areas
Inspect the path from the bed to the bathroom, especially in low light. Can the resident reach a lamp or switch before standing? Are shoes, clothes, charging cables, or rugs underfoot? Is a phone within reach if they need help? Continue through the living room, checking whether furniture forces a narrow turn or makes it hard to stand from a favorite chair.
Add any obstacle to the same checklist rather than starting a separate list for “minor” rooms. Moving a cord or removing a throw rug is often a quick fix, but only if someone is assigned to do it. Keep the walking route clear after furniture is rearranged; a chair moved out of one path shouldn’t create a new obstruction elsewhere.
7. Rank each item and assign the fix
Sort the checklist into three groups:
- Address now: hazards that can be removed safely without tools, such as clutter, a loose throw rug, or a cord across a walkway.
- Arrange a repair soon: loose rails, damaged steps, inadequate lighting, or bathroom supports that need secure installation.
- Assess before renovating: barriers that remain after smaller fixes, such as an entrance the resident cannot use safely or a tub they cannot enter.
This order prevents a costly project from distracting from an immediate fall hazard. It also shows when the issue is not purely the building. If the resident has fallen, feels unsteady, or reports dizziness, tell a health care professional; the CDC advises discussing falls and reviewing medicines that may cause dizziness or sleepiness. Don’t change medication on the basis of a home checklist.
For tasks needing a professional, note the specific movement or hazard in your request: “Needs support stepping into tub” is more useful than “make bathroom accessible.” An occupational therapist can help assess how the resident uses the space. Medicare Part B covers medically necessary outpatient occupational therapy when the required provider certifies the need; ask about coverage and costs before scheduling. Coverage for an assessment should not be assumed to pay for the construction work it recommends. For help finding local repair or modification programs, an Area Agency on Aging is a useful starting point.
8. Repeat the walk-through after changes are made
Return to the same routes with the resident’s usual shoes and mobility aid. Confirm that removed hazards have stayed gone, lights work where needed, and the resident can use new supports without stretching or twisting awkwardly. Ask what still feels unsafe. A completed installation is not the same as a usable one.
The checklist has worked when each identified hazard has an owner and a status, the high-risk items have been fixed or safely avoided pending repair, and the resident can complete ordinary routes without relying on unstable furniture or stepping around obstacles. If that isn’t true, update the list rather than marking the job finished. Recheck after a fall, a change in mobility, or a move to new equipment—and review the main routes periodically as needs change.
Disclaimer
This guide provides general home-safety information, not an individual fall-risk assessment. Seek clinical advice for falls or changing mobility, and use qualified professionals for structural, electrical, or securely mounted safety work.