A long flight is easier to manage when you make four decisions before departure: where you’ll sit, how you’ll get through the airport, where your medication will be, and when you’ll rest and move. You don’t need to have a medical condition to benefit from that planning, and age alone doesn’t mean you need airport assistance.
Start when you book, then check the details again a few days before departure.
Have these ready:
- Your flight details, including connections and the operating airline for each flight
- The aircraft seat map and any airline accessibility information you need
- A list of your medications, doses, and usual dosing times
- A small carry-on pouch for medication and in-flight essentials
- Your phone or a printed copy of assistance requests and booking details
1. Choose a flight you can manage comfortably
Look beyond the total travel time. A tight connection can turn a manageable long-haul flight into a hurried walk across a large airport. Compare connection times, arrival hours, and the number of times you’ll have to change planes. If long walks or stairs are difficult, ask the airline about the connection and boarding arrangements before buying.
Think about the first day at your destination, too. An early arrival may sound efficient, but it’s less useful if you’ll have nowhere to rest for several hours. Leave room for a quiet first day rather than scheduling an important activity immediately after landing.
If you’re traveling abroad, this is also a good time to check what your health insurance will pay for away from home. If that’s unclear, a guide to travel insurance for a medical emergency abroad can help you identify questions to ask before you leave.
2. Select a seat for how you’ll use the flight
Choose an aisle seat if you expect to get up often or want easy access to the lavatory. A window seat gives you a wall to lean against and fewer interruptions from seatmates, but you’ll need to ask others to move whenever you get up. On an overnight flight, decide which matters more to you: uninterrupted rest or freedom to move.
Use the seat map rather than assuming all seats in the same cabin feel alike. Check the seat’s location relative to lavatories and galleys, and look at the airline’s description of legroom and recline before paying for an upgrade. A bulkhead may give your knees more room, but it doesn’t automatically give you more comfortable storage or a better place to sleep. If transferring into the seat is difficult, ask whether it has a movable aisle armrest; American Airlines, for example, identifies some of those seats on its seat map.
An exit row is not simply a legroom upgrade. The person seated there must be able to perform the required emergency functions, and airline staff make that determination under safety rules. If you need a particular seat because of a disability-related need, tell the airline what the seat must allow you to do rather than assuming a paid seat-selection option is your only route.
3. Request the specific airport help you need
If walking a long terminal is difficult, contact each airline operating a leg of your trip and describe the task you need help with: getting from drop-off to the gate, making a connection, boarding, or getting from the aircraft to baggage claim. Say if you can walk short distances but not long ones, or if stairs are a problem. That detail is more useful than a general request for “senior assistance.”
For passengers with a disability-related need, U.S. Department of Transportation guidance covers wheelchair and guided assistance through the airport and between connecting flights. Request it when you book if possible, then identify yourself to airline staff when you arrive; a note on your reservation does not replace checking in with them. Ordinary wheelchair assistance generally does not require advance notice, though some arrangements that take extra preparation can.
Airport mobility help and security-screening help are different requests. If you need support through a U.S. security checkpoint because of a disability or medical condition, TSA Cares advises contacting it at least 72 hours before departure. Keep the airline’s assistance details handy for your return journey as well.
If you use a wheelchair or need help reaching an onboard lavatory, discuss the aircraft and your needs with the operating airline before booking. An airport wheelchair request doesn’t answer what help will be available inside the cabin.
4. Make a medication plan before you pack
Write down what you take, when you take it, and which doses fall during travel. Set phone alarms if that helps. For a trip across time zones, ask your pharmacist or prescriber how to handle medicines whose doses must be spaced carefully. Don’t switch a dose to the destination’s clock time on your own.
Keep enough medication for the trip, plus a reasonable allowance for delays, in your carry-on rather than checked luggage. For international travel, CDC advises using original, labeled containers and carrying copies of prescriptions. Check the rules at your destination and in any country where you’ll pass through customs: a medicine permitted in the United States may be restricted elsewhere. If a drug needs refrigeration or you use an injectable medicine, ask the pharmacist how to store and transport it.
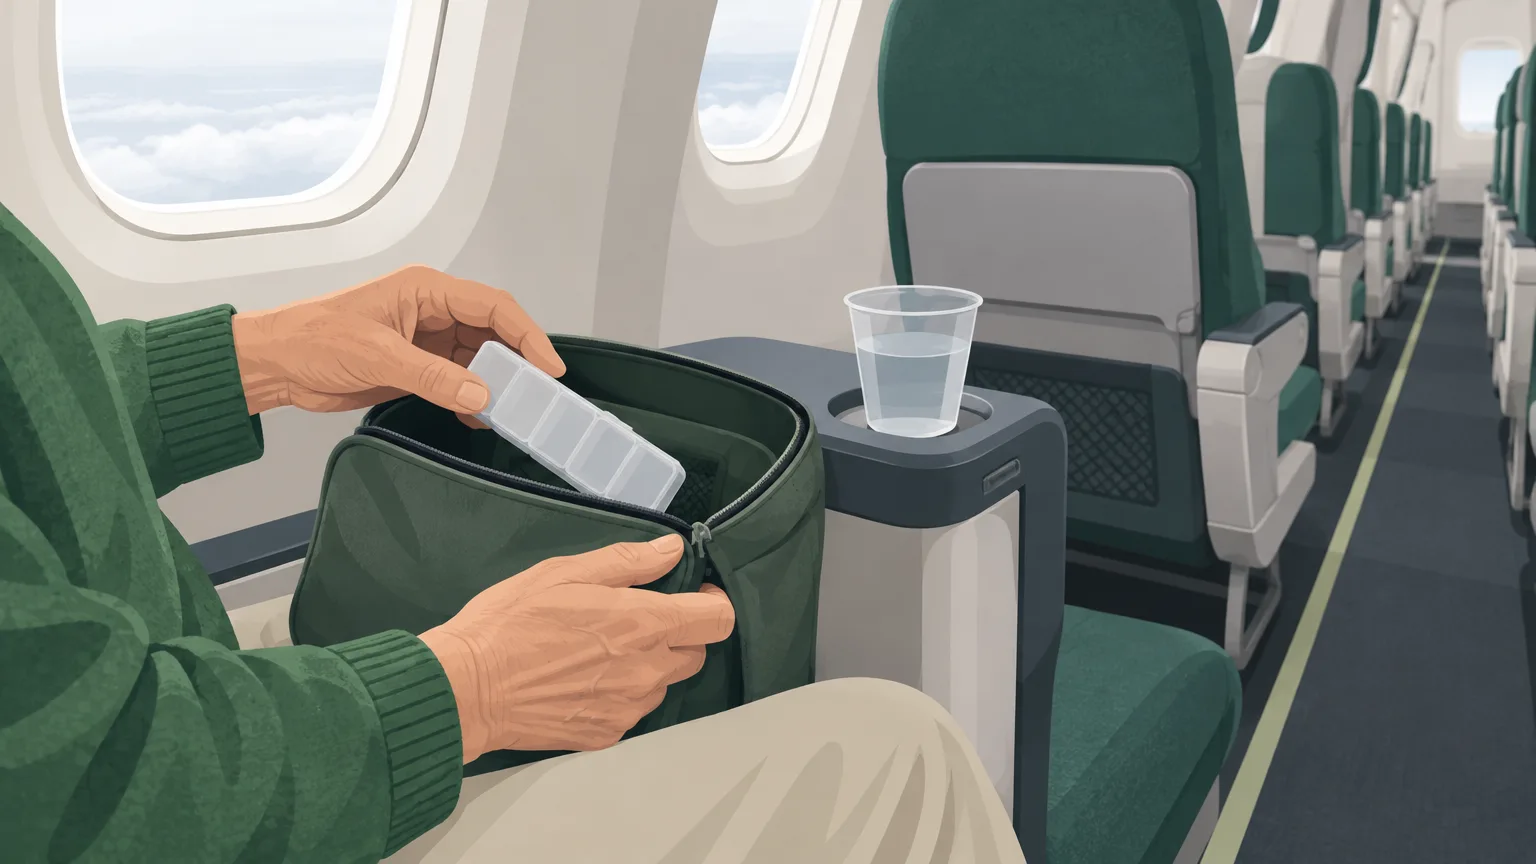
Pack the doses you may need in flight where you can reach them without opening an overhead bin. Keep the labeled containers with you as well. At U.S. security checkpoints, medically necessary liquids may be carried in amounts above the usual 3.4-ounce limit, but they must be declared for screening; check TSA’s guidance on screening medical items before departure. Rules at airports outside the United States may differ.
If you’ve recently had surgery, have had a blood clot, use oxygen, or have a health issue that makes long periods of sitting or flying uncertain, leave the medical decisions to your clinician. A seat choice or pair of compression socks is no substitute for advice based on your own risk.
5. Pack a small in-flight kit you can reach
Put the things you’re likely to use during the flight in a compact bag that fits under the seat: medication, glasses, a light layer, a water bottle to fill after security, and perhaps an eye mask and earplugs. Wear shoes you can walk in safely after hours of sitting. Dress in layers so you can adjust to cabin temperature without relying on the airline having a blanket.
Keep the bag light enough to handle without straining. If you need disability-related help with carry-on luggage, tell airline staff rather than struggling to lift it. Before travel, check any device you plan to use—such as a CPAP machine or mobility aid—with the operating airline so you understand its storage and onboard-use arrangements.
6. Check in with staff when you reach the airport
Allow extra time for check-in, screening, a possible gate change, and a restroom stop. On arrival, tell airline staff that you requested assistance and confirm where you’ll meet the person helping you. At the gate, check again that any boarding or arrival assistance appears in your reservation.
If you need more time or help to board because of a disability, DOT says you may request preboarding. Before settling in, place your in-flight kit where you can reach it, locate the lavatory, and ask the crew any practical question you have about moving around the cabin. Don’t wait until landing to raise a concern about help at your connection; tell the crew during the flight if your needs or plans change.
7. Move when it’s safe to do so
Long stretches of sitting can leave anyone stiff. Move your ankles and calf muscles while seated, change position when you can, and get up for a short walk when the crew says it’s safe. An aisle seat makes those breaks less disruptive.
Movement matters for reasons beyond comfort. CDC notes that blood-clot risk on long trips is generally small but rises with factors such as prior clots, recent surgery, and limited mobility. Ask a clinician before travel whether you need any individual precautions; don’t start aspirin or use medical-grade compression stockings solely on a fellow traveler’s advice.
Stay seated when the seat belt sign is on, and keep your belt fastened while seated even when it’s off. Unexpected turbulence can injure unbelted passengers. If walking feels unsteady, wait or ask a flight attendant for guidance rather than pushing through a moving cabin.
8. Rest on a schedule that fits your arrival
For an overnight flight, give yourself a realistic sleep window rather than trying to sleep from takeoff to landing. Eat before that window if practical, silence notifications, and use an eye mask or earplugs if they suit you. Avoid using alcohol as a sleep aid. If you’re considering a new sleep medicine or melatonin, ask a clinician or pharmacist first—especially if you take other medications or may need to get up during the flight.
Once you arrive, use local daylight and a regular bedtime to help reset your schedule. The CDC’s jet-lag guidance also favors protecting sleep and keeping daytime naps short. If changing schedules is hard for you even without travel, a bedtime routine for shifting schedules offers a way to plan the days around the flight.
Check the plan before you leave
Your plan is ready when you can answer four questions without searching through emails: Which seat do I have? Who is helping me at each airport, if anyone? Where are my next medication doses? When will I have a chance to move and rest?
If an assistance request or seat assignment is missing, contact the operating airline before departure and confirm it again at check-in. If your medication schedule is unclear, ask your pharmacist or prescriber before you fly—not when the cabin clock changes. And if your health makes the flight itself uncertain, get professional advice before committing to the trip.
Disclaimer
This article provides general travel and health information, not individual medical advice. Ask your healthcare professional about medication timing, clot risk, or fitness to fly when those concerns apply to you.