A smaller image shouldn’t look smaller. If a photo turns soft after compression, the problem is often not the compressor alone: the image may have been resized too far, saved in a poor format for its content, or exported at an overly aggressive quality setting.
This job requires no technical setup. You’ll make a copy, size it for where it will appear, compare a few export settings, and check the downloaded file—not just the preview.
You’ll need:
- The highest-quality original image you have
- A computer or phone with a browser
- An online image compressor with resize controls and a before-and-after preview; Squoosh offers those controls
- The destination’s image requirements, if you’re uploading to a website, marketplace, or form
1. Set a target for the finished image
Find out where the image will appear and how large it needs to be there. A photo filling a wide website banner needs more pixels than a small profile picture. An upload form may specify a maximum file size, allowed formats, or minimum dimensions. Those requirements matter more than an arbitrary goal such as “make it under 100 KB.”
Keep two measurements separate. Dimensions are the image’s width and height in pixels; file size is how much storage it uses, usually shown in KB or MB. You can reduce file size by changing dimensions, format, or compression strength, but each choice has a different effect on appearance.
If you manage a website, check how wide the image actually displays rather than judging by the original file. A 4,000-pixel-wide photo displayed in a 600-pixel-wide space carries detail most visitors won’t see. Higher-density screens can benefit from a larger source, though, so a 1,200-pixel-wide version may be a sensible candidate for that 600-pixel space. Sites serving images at multiple sizes can use responsive images to match files to different displays.
2. Keep an untouched original
Duplicate the image before editing it, and work from the copy. Give the original a name you’ll recognize later, such as product-photo-original.jpg.
This is especially important with JPEGs. Lossy compression discards image information, and saving an already compressed version again won’t restore what was lost. If an export looks bad, return to the original and try new settings rather than compressing the bad export a second time.
For an image destined for print, an archive, or future editing, treat the smaller version as a delivery copy—not a replacement for your master. A file that looks crisp in a small web slot may not hold up when enlarged.
3. Open the working copy in an online compressor
Drag the copy into your chosen tool, or use its file picker. For a straightforward single-image job, Squoosh lets you open an image, compare changes, and adjust the output before saving it. Its compression runs locally in the browser rather than sending the image to a server, although its project documentation notes that it collects basic visitor and before-and-after file-size data.
That distinction is worth checking if the picture is private. Don’t assume every tool labeled “online” processes files on your device. Before using a different service for client work, family photos, or confidential screenshots, check how it handles uploads and retention. If you can’t confirm its terms, use a trusted local editor instead.
Note the starting file size and dimensions shown by the tool or your device. You’ll need both to judge the result.
4. Resize to the dimensions you actually need
Turn on the resize control and enter a width suited to the destination. Keep the aspect ratio locked so the height changes proportionally; otherwise, people and objects can look stretched.
Start with the space the image must fill. If a website displays a photo at roughly 600 pixels wide, try a version around 1,200 pixels wide when you want it to look sharp on higher-density screens. If the destination specifically asks for 800 × 800 pixels, follow that requirement instead. Don’t enlarge a small original to hit a larger number: adding pixels doesn’t recreate missing detail.
Watch for cropping requirements, too. Resizing a 4:3 photo won’t make it fit a square product-image slot without either cropping part of the scene or leaving space around it. Do that composition work before compression so you can check that nothing important is cut off.
Resizing often makes the largest useful difference when the source is much bigger than its display size. But it’s also the easiest way to create genuine blur: if the exported dimensions are too small, the destination will have to stretch the image. Check the expected display size before pushing dimensions lower.
5. Choose a format that suits the picture
Format choice can save space without forcing an excessive drop in quality. The best starting point depends on what’s in the image and what the destination accepts:
- For photographs, try WebP, JPEG, or AVIF. Compare the results rather than assuming the newest format will look best for every picture.
- For screenshots, diagrams, and images with small text, try PNG or lossless WebP first. Lossy compression can leave fuzzy letters or colored fringes around hard edges.
- For images that need a transparent background, use a format that preserves it, such as PNG, WebP, or AVIF—not JPEG.
- For a logo or simple illustration, use the original vector file, such as SVG, if you have it and the destination accepts it. Shrinking a raster copy won’t give it the same clean edges at every size.
WebP and AVIF generally compress better than older raster formats, but acceptance is a separate question. A site’s upload form, email platform, or print service may limit your choices. JPEG remains a practical photo option when compatibility is the priority; PNG is often a better fit when exact edges or transparency matter.
Don’t change a filename from .png to .jpg and expect a conversion. Select the output format in the compressor and export a new file.
6. Adjust compression quality gradually
With dimensions and format set, move the quality control in small increments. Start from the tool’s default or a fairly high-quality setting, then lower it until the file becomes meaningfully smaller. Stop when the savings no longer justify the visible damage.
The number on a quality slider is not a universal grade. A setting of 80 in one format—or even one compressor—doesn’t necessarily match 80 in another. Compression settings need to be judged by the resulting image and file size, not by the slider number alone.
Look closely at the parts that expose problems first: hair, leaves, fabric texture, lettering, smooth skies, and high-contrast borders. A portrait might still look good after fine background detail is reduced. The same setting could make a chart hard to read. If the tool offers a lossless option, use it when exact detail matters, then see whether its file size meets your needs.
If you have a strict upload limit, work toward it without treating the limit as a quality target. A 700 KB file is fine when the form allows 1 MB and a 400 KB version looks noticeably worse.
7. Compare the preview at useful sizes
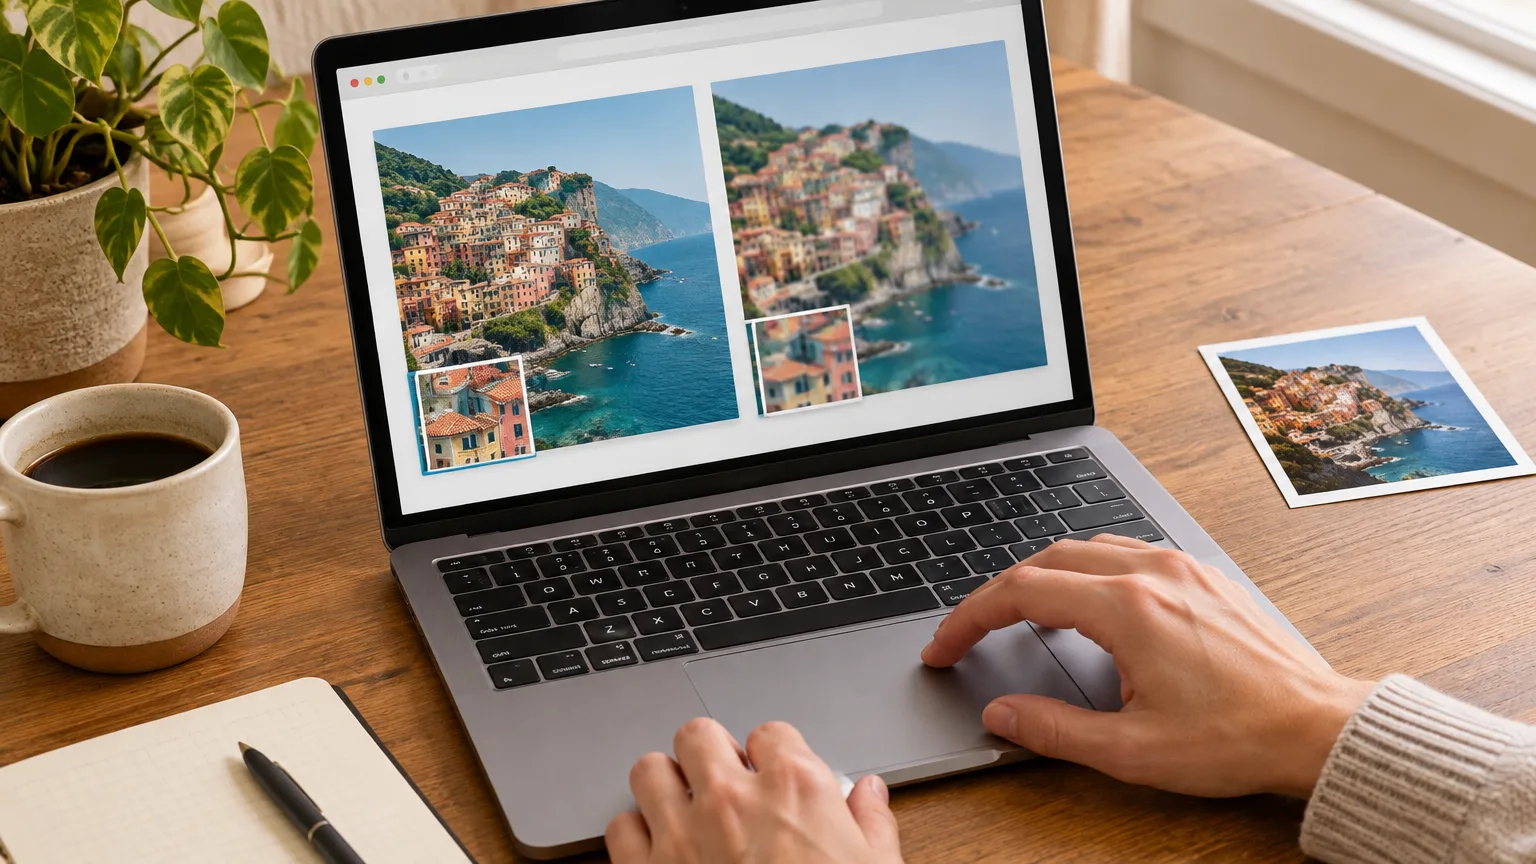
Move the before-and-after divider across the image, then inspect the compressed side both close up and near its intended display size. Zooming in helps you spot blocky textures, smudged edges, and halos. Viewing it at normal size tells you whether those flaws will actually matter to the person seeing it.
Pay particular attention to text. A screenshot can seem acceptable when fitted to your screen, yet become difficult to read in the exact area a reader needs. Conversely, a little noise in a photographic background may be invisible once the picture sits in a web page.
Check color and transparency as well as sharpness. A product that changes shade, or a logo that gains a solid background, is not a successful export just because its file is smaller. If the preview looks wrong, change one setting at a time—usually quality first, then format or dimensions—so you know what fixed it.
8. Download the compressed image
Save the result with a distinct name, such as product-photo-webp-1200.webp. This prevents confusion between the master, a failed attempt, and the version you intend to use.
Compare its file size with the original. For example, reducing a 4,000-pixel-wide photo to the width needed for a page may cut far more data than nudging a quality slider alone. The exact savings vary with the image’s detail, format, and settings, so use the actual exported size rather than an expected percentage.
If the new file is larger, that isn’t automatically a tool failure. A nearly optimized JPEG converted to lossless PNG, for instance, can grow substantially. Keep the original and try a more suitable format or setting.
9. Test the downloaded file where it will be used
Open the saved file outside the compressor. Then place it in the intended website, document, email, or upload form if you can preview it there. This last check catches problems the editor preview cannot: a platform may crop the image, enlarge it, reject its format, or recompress it after upload.
The job worked if the file meets the destination’s size and format rules, looks sharp at its actual display size, and preserves important details, colors, and transparency. A smaller number in the file browser is only part of the result.
If it still looks blurry, check these causes in order:
- It’s being displayed larger than its exported dimensions support. Go back to the original and export a wider version.
- Compression is too strong. Raise quality, especially if you see smears or blocks rather than uniformly soft detail.
- The format is wrong for the content. Try lossless PNG or WebP for text and crisp graphics instead of a heavily compressed JPEG.
- The original is already soft. Compression can limit further damage, but it cannot recover detail that was never captured.
- The destination changes the file. Compare your downloaded version with the displayed one; the platform’s crop or processing may be responsible.
Most web images are a do-it-yourself job. Leave the final preparation to a professional when color accuracy, fine print detail, or an expensive print run is at stake, or when a business needs many consistent image versions across a site. In those cases, a mistake can affect legibility, product appearance, or every page using the image—not just one upload.